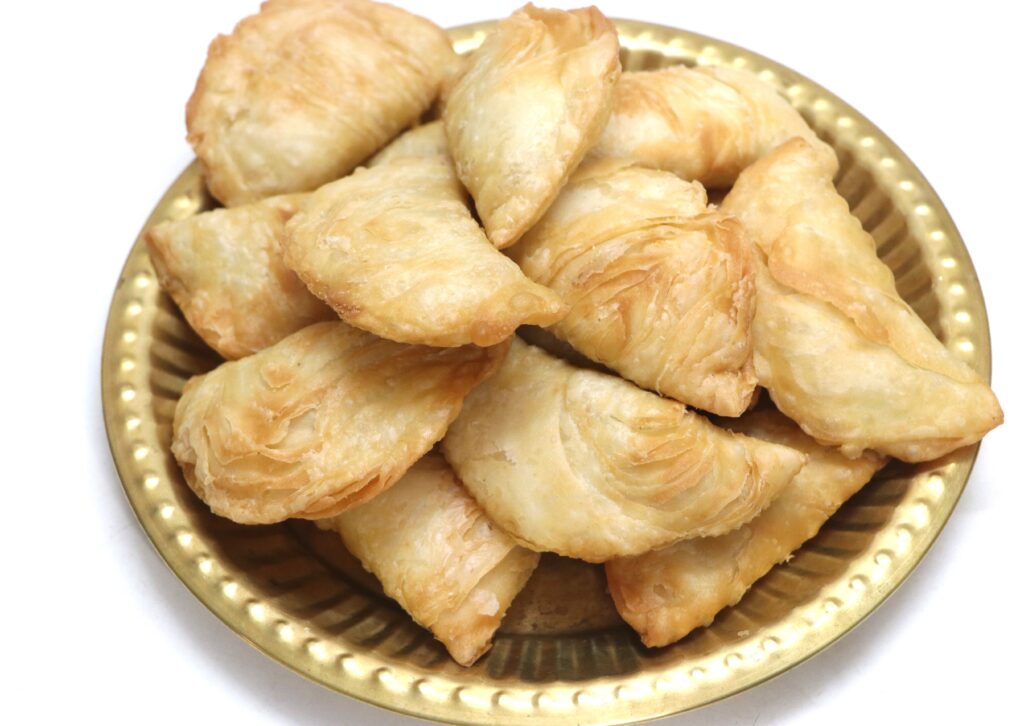
In every Indian household, festivals are incomplete without the aroma of ghee, roasted coconut and the sound of a bubbling frying pan.. On such timeless treat is Karanji, also known as Gujiya in Northern India. This delicate, crescent – shaped sweet is traditionally made during Diwali, Holi and other festive occasions. It’s crispy on the outside and filled with a fragrant mixture of coconut, semolina, sugar, cardamom and dry fruits.. This recipe offers you two delicious variations..
Classic Karanji – with a soft yet crisp shell, this is the most common and loved version across Maharashtra and other states.
Layered Karanji (Satyachi Karanji) – a special version made with flaky pastry – like layers, rich in taste and texture. This style looks intricate but is easier than it seems!!
For this recipe we prepare common coconut stuffing that can be made in advance and stored.. perfect for festival batch cooking!
Lets get into the complete, step by step process..
further, do check my other recipes collection All recipes
Ingredients
Common Stuffing (for both Karanjis)
Grated Dry coconut – 1.5 cup
Fine semolina – ½ cup
Powder sugar – 1.5 cup
Chopped dry fruits – 2 tbsp
Cardamom powder – ½ tsp
Ghee – ½ tsp
Oil – to fry
For Outer Cover for Simple Karanji –
All purpose flour – 2 cup
Salt – 1/8 tsp
Melted ghee – 5 tbsp
Water – as required
Layerd Karanji
For Outer Cover for Satyachi Karanji –
All purpose flour – 2 cup
Salt – 1/8 tsp
Melted ghee – 5 tbsp
Water – as required
For sata –
Corn starch – 2 tbsp
Ghee – 2 tbsp
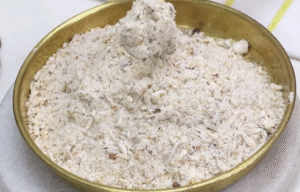
Part 1: Prepare Common Coconut Stuffing (Saran)
Grated Dry coconut – 1.5 cup
Fine semolina – ½ cup
Powder sugar – 1.5 cup
Chopped dry fruits – 2 tbsp
Cardamom powder – ½ tsp
Ghee – ½ tsp
Method -
Step 1 –
Firstly, a heat a thick – bottomed pan or kadai on low flame.
Now add 1.5 cups of grated dry coconut.
Stir continuously and roast gently until the coconut turns light golden and aromatic, this may take around 5 – 7 minutes.
Roasting on low flame ensures the coconut doesn’t burn and develops a pleasant nutty aroma.
Once roasted, transfer to a plate and let it cool.
Now take it out this roasted coconut on a plate.
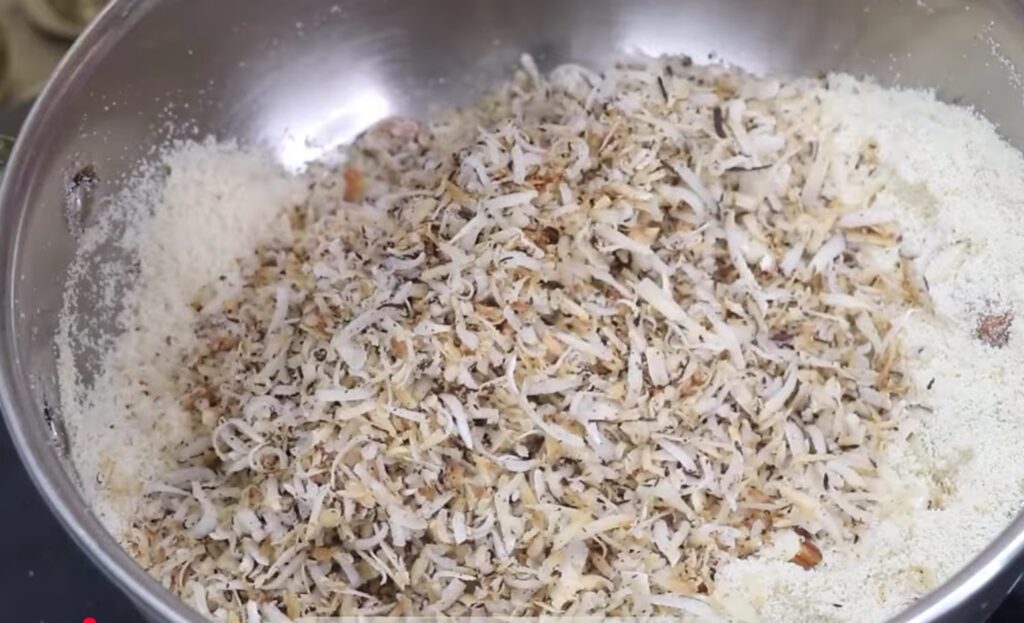
7. In the same pan, add 1/2 tsp ghee, add 1/2 cup of fine semolina and begin roasting on low to medium heat.
8. Stir constantly for about 7 – 9 minutes. It will slightly change color and release a nutty fragrance.
9. Once the semolina is roasted, add 2 tbsp chopped dry fruits. Roast together for 1 – 2 more minutes so the dry fruits become crunchy and flavourful.
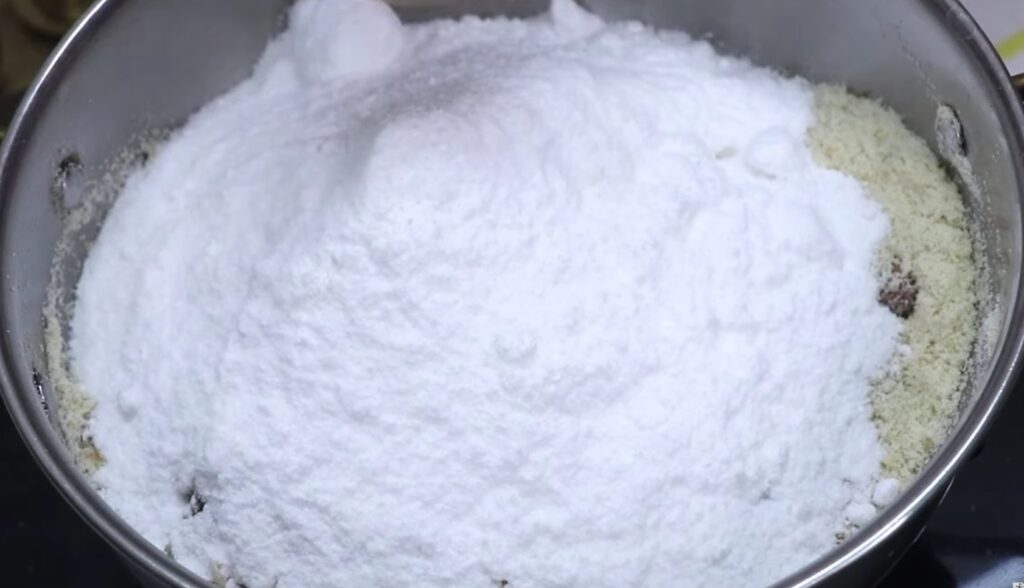
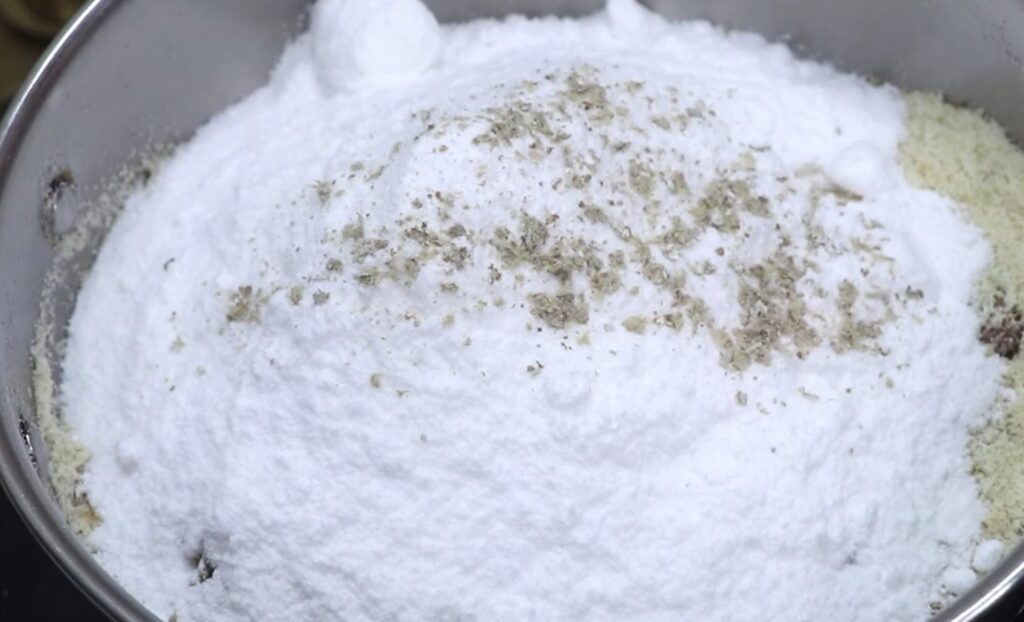
10. Now turn off the flame. Add the previously roasted coconut into the pan. Along with add 1.5 cups powdered sugar and 1/4 tsp cardamom powder.
11. Mix it everything well. Lets this mixture cool completely. We can store in an airtight container for up to 1 month
Ingredients
Part 2: Dough Preparation for Outer Shell (for both method)
All-purpose flour (Maida) – 2 cups
Salt – a pinch (approx. 1/8 tsp)
Melted ghee – 5 tbsp (for moyan)
Water – as needed (to knead dough)
Method
Step 2 –
Now prepare outer cover, take a big plate add 2 cups of all purpose flour, 1/8 tsp of salt, pour in 5 tbsp melted ghee, add some water and knead into a medium firm dough (not too soft).
Cover the dough with a damp cloth and let it rest for 20 minutes.
Making Classic Karanji (Gujiya)
Now divide the rested dough into small balls (peda-sized).
Then roll each ball into a thin puri (around 4–5 inches diameter).
Place the puri on a Karanji mould if available. If not, proceed manually.
Add 1–2 tsp of stuffing in the center.
Apply water on the edges lightly.
Then fold the puri into a half-moon shape and press the edges firmly to seal.
Remove excess dough from the edges.
Remove excess dough from the edges.
If using a mould, demould carefully and set aside.
Cover the prepared karanjis with a clean kitchen cloth to prevent drying.
Heat oil (or ghee) in a deep kadai on medium flame.
Check oil temperature by dropping a small piece of dough. It should rise slowly, not instantly.
Add 2–3 karanjis at a time and fry gently.
Flip occasionally until they turn golden brown and crisp on all sides.
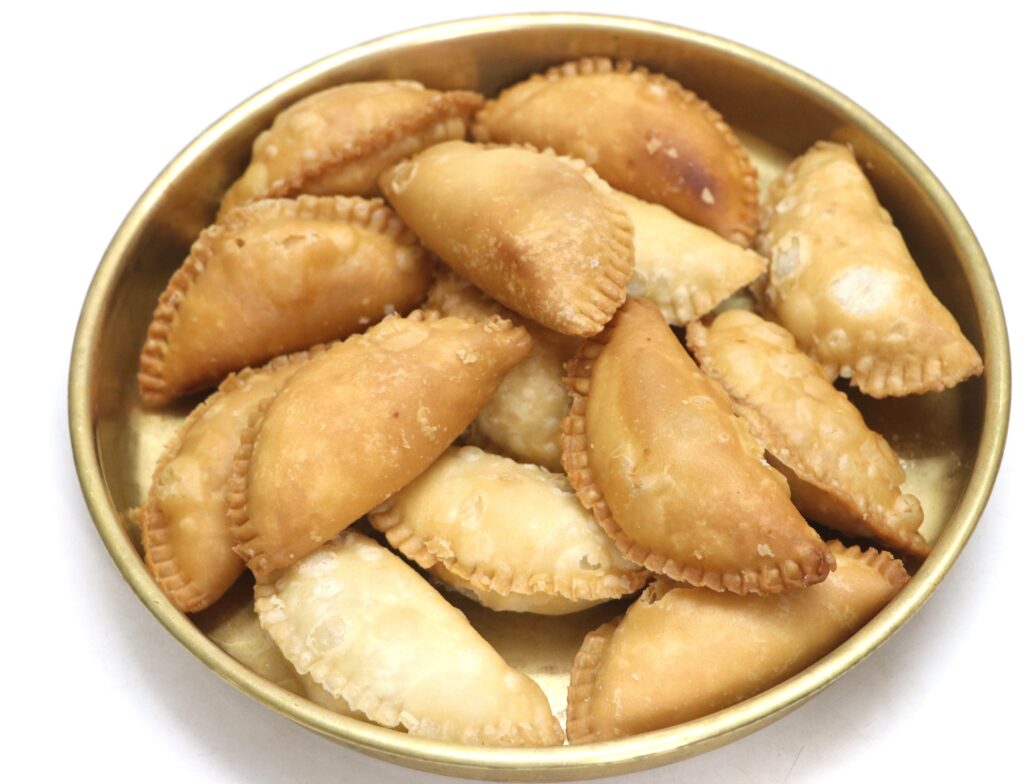
Remove onto a kitchen towel or tissue to absorb excess oil.
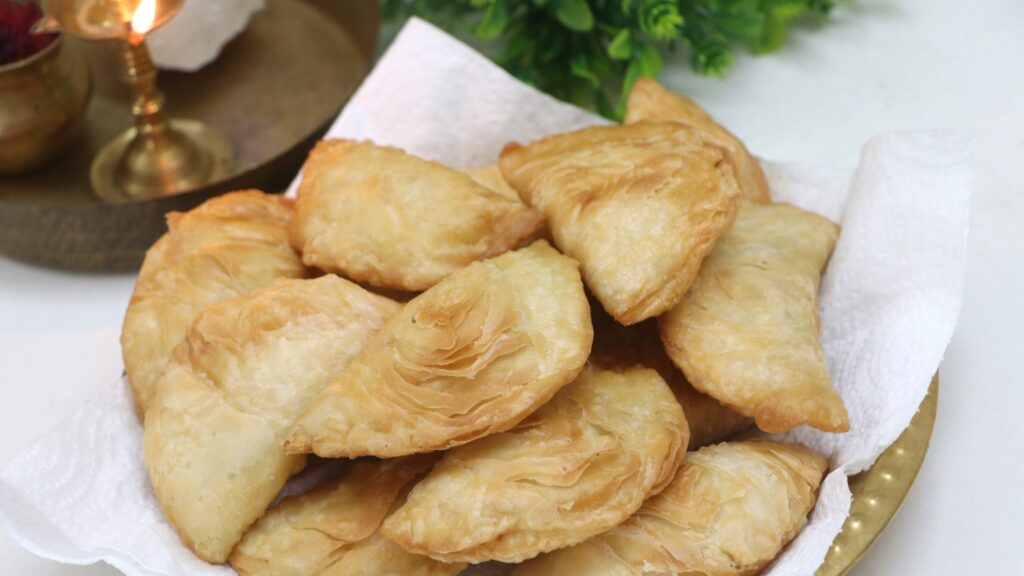
So our simple Maharashtrian style karanji is ready.
Layered Karanji (Satachi Gujiya)
Ingredients for Sata Paste:
Prepared dough
Prepared stuffing
Cornstarch – 2 tbsp
Ghee – 2 tbsp
OIl – to fry
Firstly prepare sata, take mixing bowl. Add 2 tbsp corn-starch, 2 tbsp ghee. Mix both into a smooth, lump-free paste. This will be used between dough layers.
Prepare the same dough as earlier using maida, ghee, and water.
Divide into 4 large balls and roll them into thin chapatis.
On a clean surface place 1 chapati → apply a layer of sata paste → sprinkle dry maida or cornstarch. Then place the 2nd chapati on top → repeat the process. Continue layering until all 4 are stacked. Lastly apple some sata (corn-starch mixture), sprinkle some corn-starch.
Now roll this layered stack tightly into a log (like a Swiss roll).
Gently stretch the roll and cut into equal 1-inch thick discs.
Take one disc, keep the layered side facing up.
Gently flatten and roll it into an oval (not too thin).
Add stuffing in the center.
Apply water to the edges, fold into half-moon shape, and seal tightly.
Prepare all karanji this way.
Now heat oil or ghee on medium flame.
Then gently slide in the layered karanjis.
While frying, spoon hot oil over the top. This helps the layers to puff up.
Fry until golden brown and crisp.
Remove onto tissue paper to absorb excess oil. Layered karanji absorbs more oil, so drain well.
Satyachi karanji is ready.
Allow both types of karanji to cool completely.
Store in an airtight container. Stays fresh for 10–15 days.
Both types of Karanji are divine in taste and perfect for festive offerings, gifting, or sharing with loved ones. The classic version is quick and simple, while the layered one is a rich, flaky treat that looks as beautiful as it tastes.
So this festive season, bring joy to your kitchen with these homemade sweets. Serve with love. Offer with devotion. Enjoy with gratitude.
Vishakha's Kitchen
Join me on a delightful journey through the world of flavors and traditions! At Vishakha's Kitchen
I’m Vishakha, the heart and soul behind Vishakha’s Kitchen — where I share my love for cooking, experimenting with flavors, and creating homemade dishes that bring people together...


 Part 1: Prepare Common Coconut Stuffing (Saran)