
Table of Contents
ToggleHalwai Style Paneer Corn Cheese Samosa Recipe
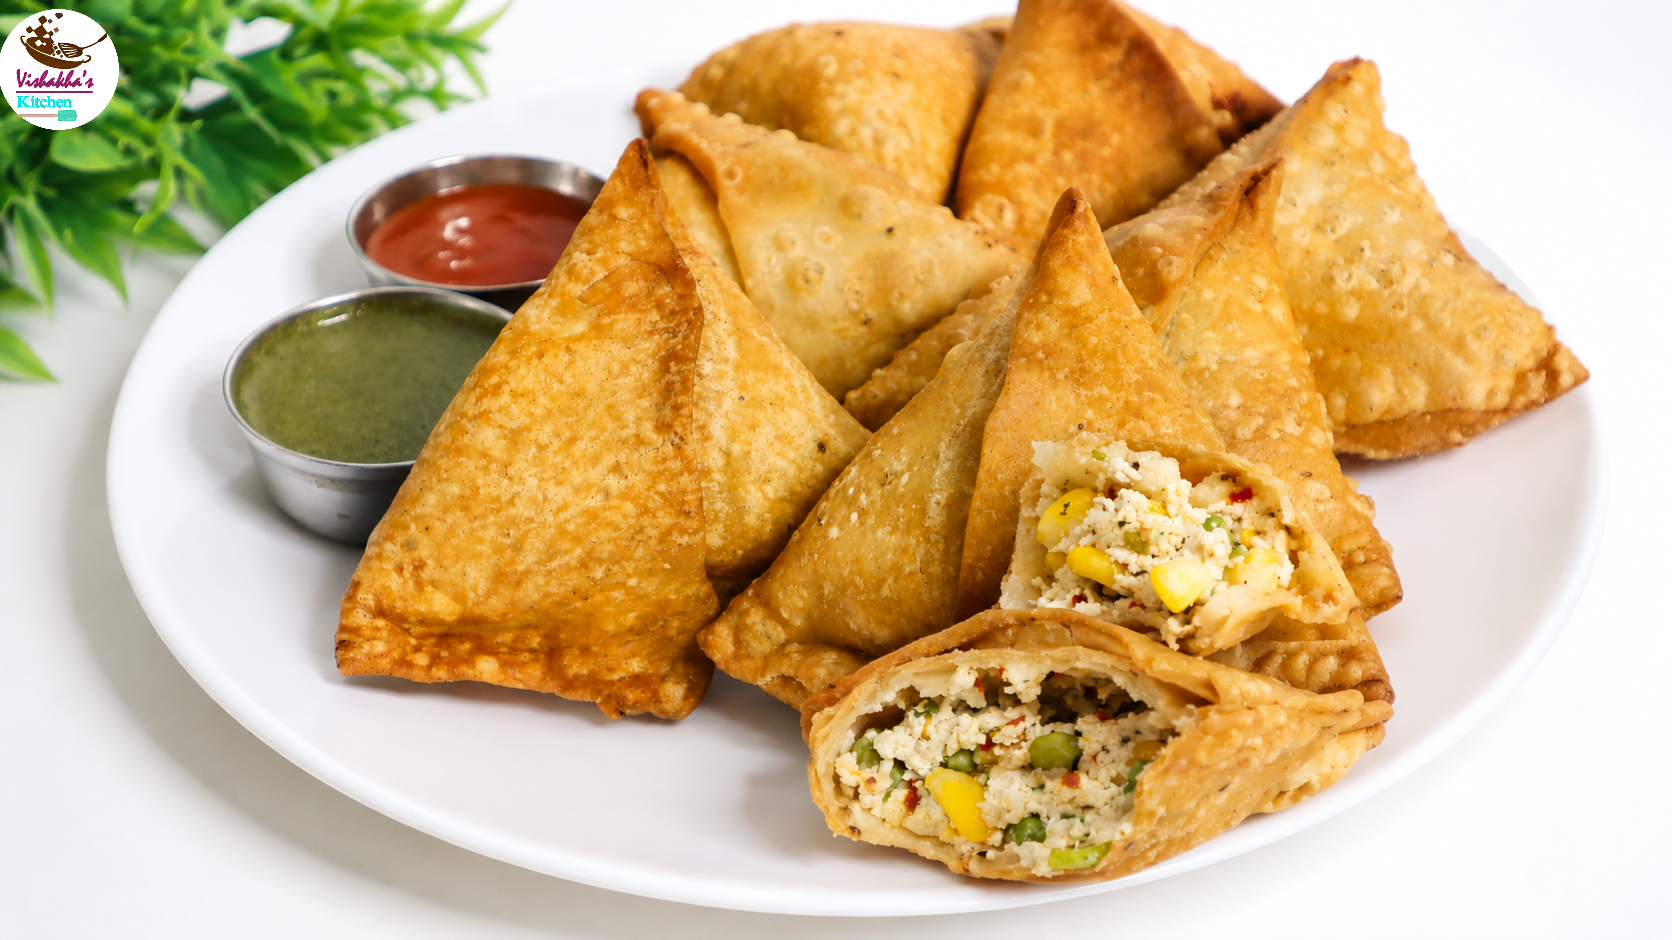
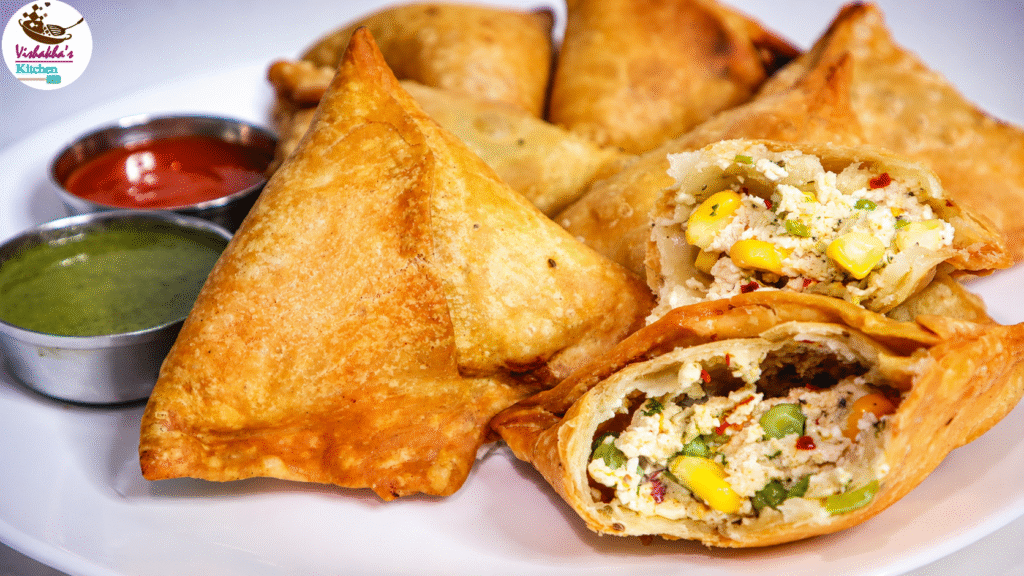
There’s something incredibly comforting about biting into a hot, crispy samosa fresh out of the fryer — especially when it’s filled with a rich, cheesy paneer stuffing. Today’s recipe is a delicious twist on the classic Indian samosa: Paneer Corn Cheese Samosa. These golden, flaky pockets are loaded with spicy paneer, sweet corn, fresh vegetables, and gooey melted cheese, making them an irresistible snack for tea time, parties, or festive gatherings.
The outer layer is perfectly crunchy and flaky, while the inside is packed with a chatpata (tangy and spicy) filling that bursts with flavor in every bite. The combination of soft grated paneer, sweet corn, green peas, capsicum, aromatic spices, and melted cheese creates a rich and satisfying texture that everyone will love. Served with mint chutney or sweet tamarind chutney, these samosas taste just like the ones from your favorite halwai shop.
Whether you are preparing snacks for guests or simply craving something crispy and indulgent, this easy homemade samosa recipe is sure to become a family favorite.
Craving more delicious dishes? Check these recipes too:
आलू भिंडी मसाला रेसिपी | Aloo Bhindi Masala Recipe
Veg Chili Mili with Paneer | Hotel Style Veg chili Mili recipe
Best Dal Makhani Recipe | Authentic Lunger-Style Dal Makhani Recipe
भरवां करेला | Stuffed Karela | Crispy Shallow-Fried Stuffed Karela Recipe
Kadhi Pakoda | Authentic Kadhi Pakoda Recipe
Dhaba Style Kadai Paneer Recipe | Easy, Flavorful Punjabi Curry
10-Minute Smoky Black Pepper Paneer |Hotel Style Kali Mirch Paneer
राज कचोरी चाट| Raj Kachori Recipe | Halwai Style 100% Perfect Raj kachori
Halwai Style Aloo Pyaaz Kachori Recipe | Street Style Crispy Kachori
Samosa Recipe | Halwai Style Samosa
Himachal’s Famous Siddu Recipe | Healthy Steamed Snack From the Hills
Ingredients
For the Dough
- 2 cups all-purpose flour
- ¼ tsp salt
- ¼ tsp carom seeds (ajwain)
- 4 tbsp oil or ghee
- Cold water, as required
For the Stuffing
- 250 gm paneer, grated
- ¼ cup boiled sweet corn
- 2 tbsp boiled green peas
- ¼ cup chopped capsicum
- 3–4 green chilies, finely chopped
- 2 tbsp coriander leaves, finely chopped
- 1 tsp red chili flakes
- 1 tsp crushed black pepper
- 1 tsp chaat masala
- 2 cheese cubes, grated
- Salt to taste
- Oil, as required
Method
Step 1: Prepare the Dough
- In a large mixing bowl, add the all-purpose flour – 2 cup, salt – 1/4 tsp, and carom seeds – 1/4 tsp. Add oil or ghee – 4 tbsp and mix it well with the flour using your fingers until the mixture resembles breadcrumbs and holds shape when pressed between your palms.
- Now gradually add cold water and knead into a slightly firm dough. The dough for samosas should not be soft, as a firm dough helps create the signature crispy texture.
- Cover the dough with a damp cloth and let it rest for about 30 minutes.
Step 2: Make the Stuffing
- In another bowl, combine grated paneer – 250 gm, boiled sweet corn – 1/4 cup, green peas – 2 tbsp, chopped capsicum – 1/4 cup, green chilies – 4, and coriander leaves – 2 tbsp.
- Add red chili flakes – 1 tsp, crushed black pepper – 1 tsp, chaat masala – 1 tsp, and grated cheese cubes – 2 . Since cheese already contains salt, add salt carefully according to taste.
- Now mix everything thoroughly until the filling is well combined. The stuffing should look colorful, rich, and slightly creamy from the cheese.
Step 3: Shape the Samosas
- After resting, knead the dough once again for 2–3 minutes until smooth. Divide it into equal portions.
- Roll each portion into an oval or circular sheet. The rolled dough should be medium thick — neither too thin nor too thick.
- Cut the rolled sheet into two halves. Apply a little water along the edges. This helps seal the samosas properly and prevents them from opening while frying.
- Take one half and shape it into a cone. Fill it generously with the prepared paneer stuffing. Seal the open edges firmly by pressing them together.
- You can also shape the samosas using your preferred folding technique, but make sure the edges are tightly sealed.
Step 4: Fry the Samosas
- Heat oil in a deep pan over low to medium heat.
- Carefully add the samosas into the hot oil and fry them slowly for about 20–25 minutes. Frying on low heat ensures the outer layer becomes perfectly crisp and flaky.
- Continue frying until the samosas turn golden brown and beautifully crispy from all sides.
- Remove them onto a plate lined with tissue paper.
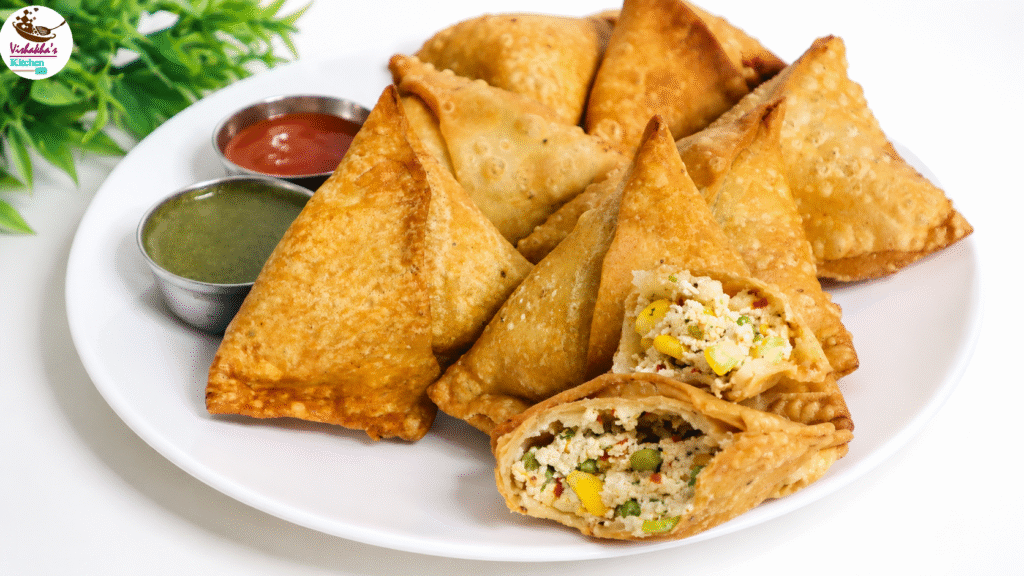
Serve these hot and crispy Paneer Corn Cheese Samosas with refreshing mint chutney and sweet tamarind chutney. The crunchy outer crust combined with the cheesy paneer filling makes every bite absolutely delicious.
Tips & Tricks –
1. Use a Firm Dough
Always knead a slightly stiff dough for samosas. Soft dough absorbs more oil and won’t give you that crispy, flaky texture.
2. Mix Oil Properly into the Flour
The oil or ghee should be rubbed well into the flour until it resembles breadcrumbs. This step is the secret to achieving khasta (crispy and flaky) samosas.
3. Rest the Dough
Let the dough rest for at least 30 minutes. Resting relaxes the gluten and makes rolling easier while improving texture.
4. Don’t Overfill the Samosas
Adding too much stuffing can cause the samosas to burst while frying. Fill them generously but leave enough space to seal the edges properly.
5. Seal the Edges Well
Always apply water along the edges before sealing. Press firmly to avoid the samosas opening in hot oil.
6. Fry on Low Heat
This is the most important tip. Fry the samosas on low to medium heat for even cooking and maximum crispiness. High heat cooks the outside quickly while leaving the inside dough undercooked.
7. Avoid Watery Filling
Make sure the boiled corn and peas are completely drained before mixing into the stuffing. Excess moisture can make the samosas soggy.
8. Cheese Makes It Extra Delicious
Grated cheese gives the stuffing a creamy and rich flavor. You can use mozzarella, processed cheese, or cheddar for a cheesy pull effect.
9. Add Extra Crunch
For more texture, you can add finely chopped onions or crushed roasted peanuts to the filling.
10. Make Ahead Option
You can shape the samosas and refrigerate them for a few hours before frying. They can also be frozen for later use.
11. Air Fryer Option
For a healthier version, brush the samosas lightly with oil and air fry at 180°C until golden and crispy.
12. Best Served Hot
Paneer and cheese taste best when hot and fresh, so serve the samosas immediately with mint chutney or sweet tamarind chutney for the ultimate snack experience.
If you loved this recipe, don’t forget to check out our other festive Indian sweets and curry recipes.
Malpua with Rabdi Recipe | Holi Special Malpua Rabdi Recipe
Thai Mango Sticky Rice Recipe with Coconut Milk | Easy Summer Dessert Recipe
Chiku Kulfi Ice Cream|Easy Homemade Sapota Ice Cream Without Cream
Authentic Surti Undhiyu Recipe| सुरती उंधियो| Gujarati Undhiyu (No Onion No Garlic)
Milk Powder Burfi | Quick & Delicious Indian Sweet (Ready in 15 Minutes!)
Hotel-Style Mysore Masala Dosa Recipe | Perfect crispy dosa batter with secret tips