
Table of Contents
ToggleChocolate Coconut Burfi – An Easy, Creamy & Delicious Indian Sweet
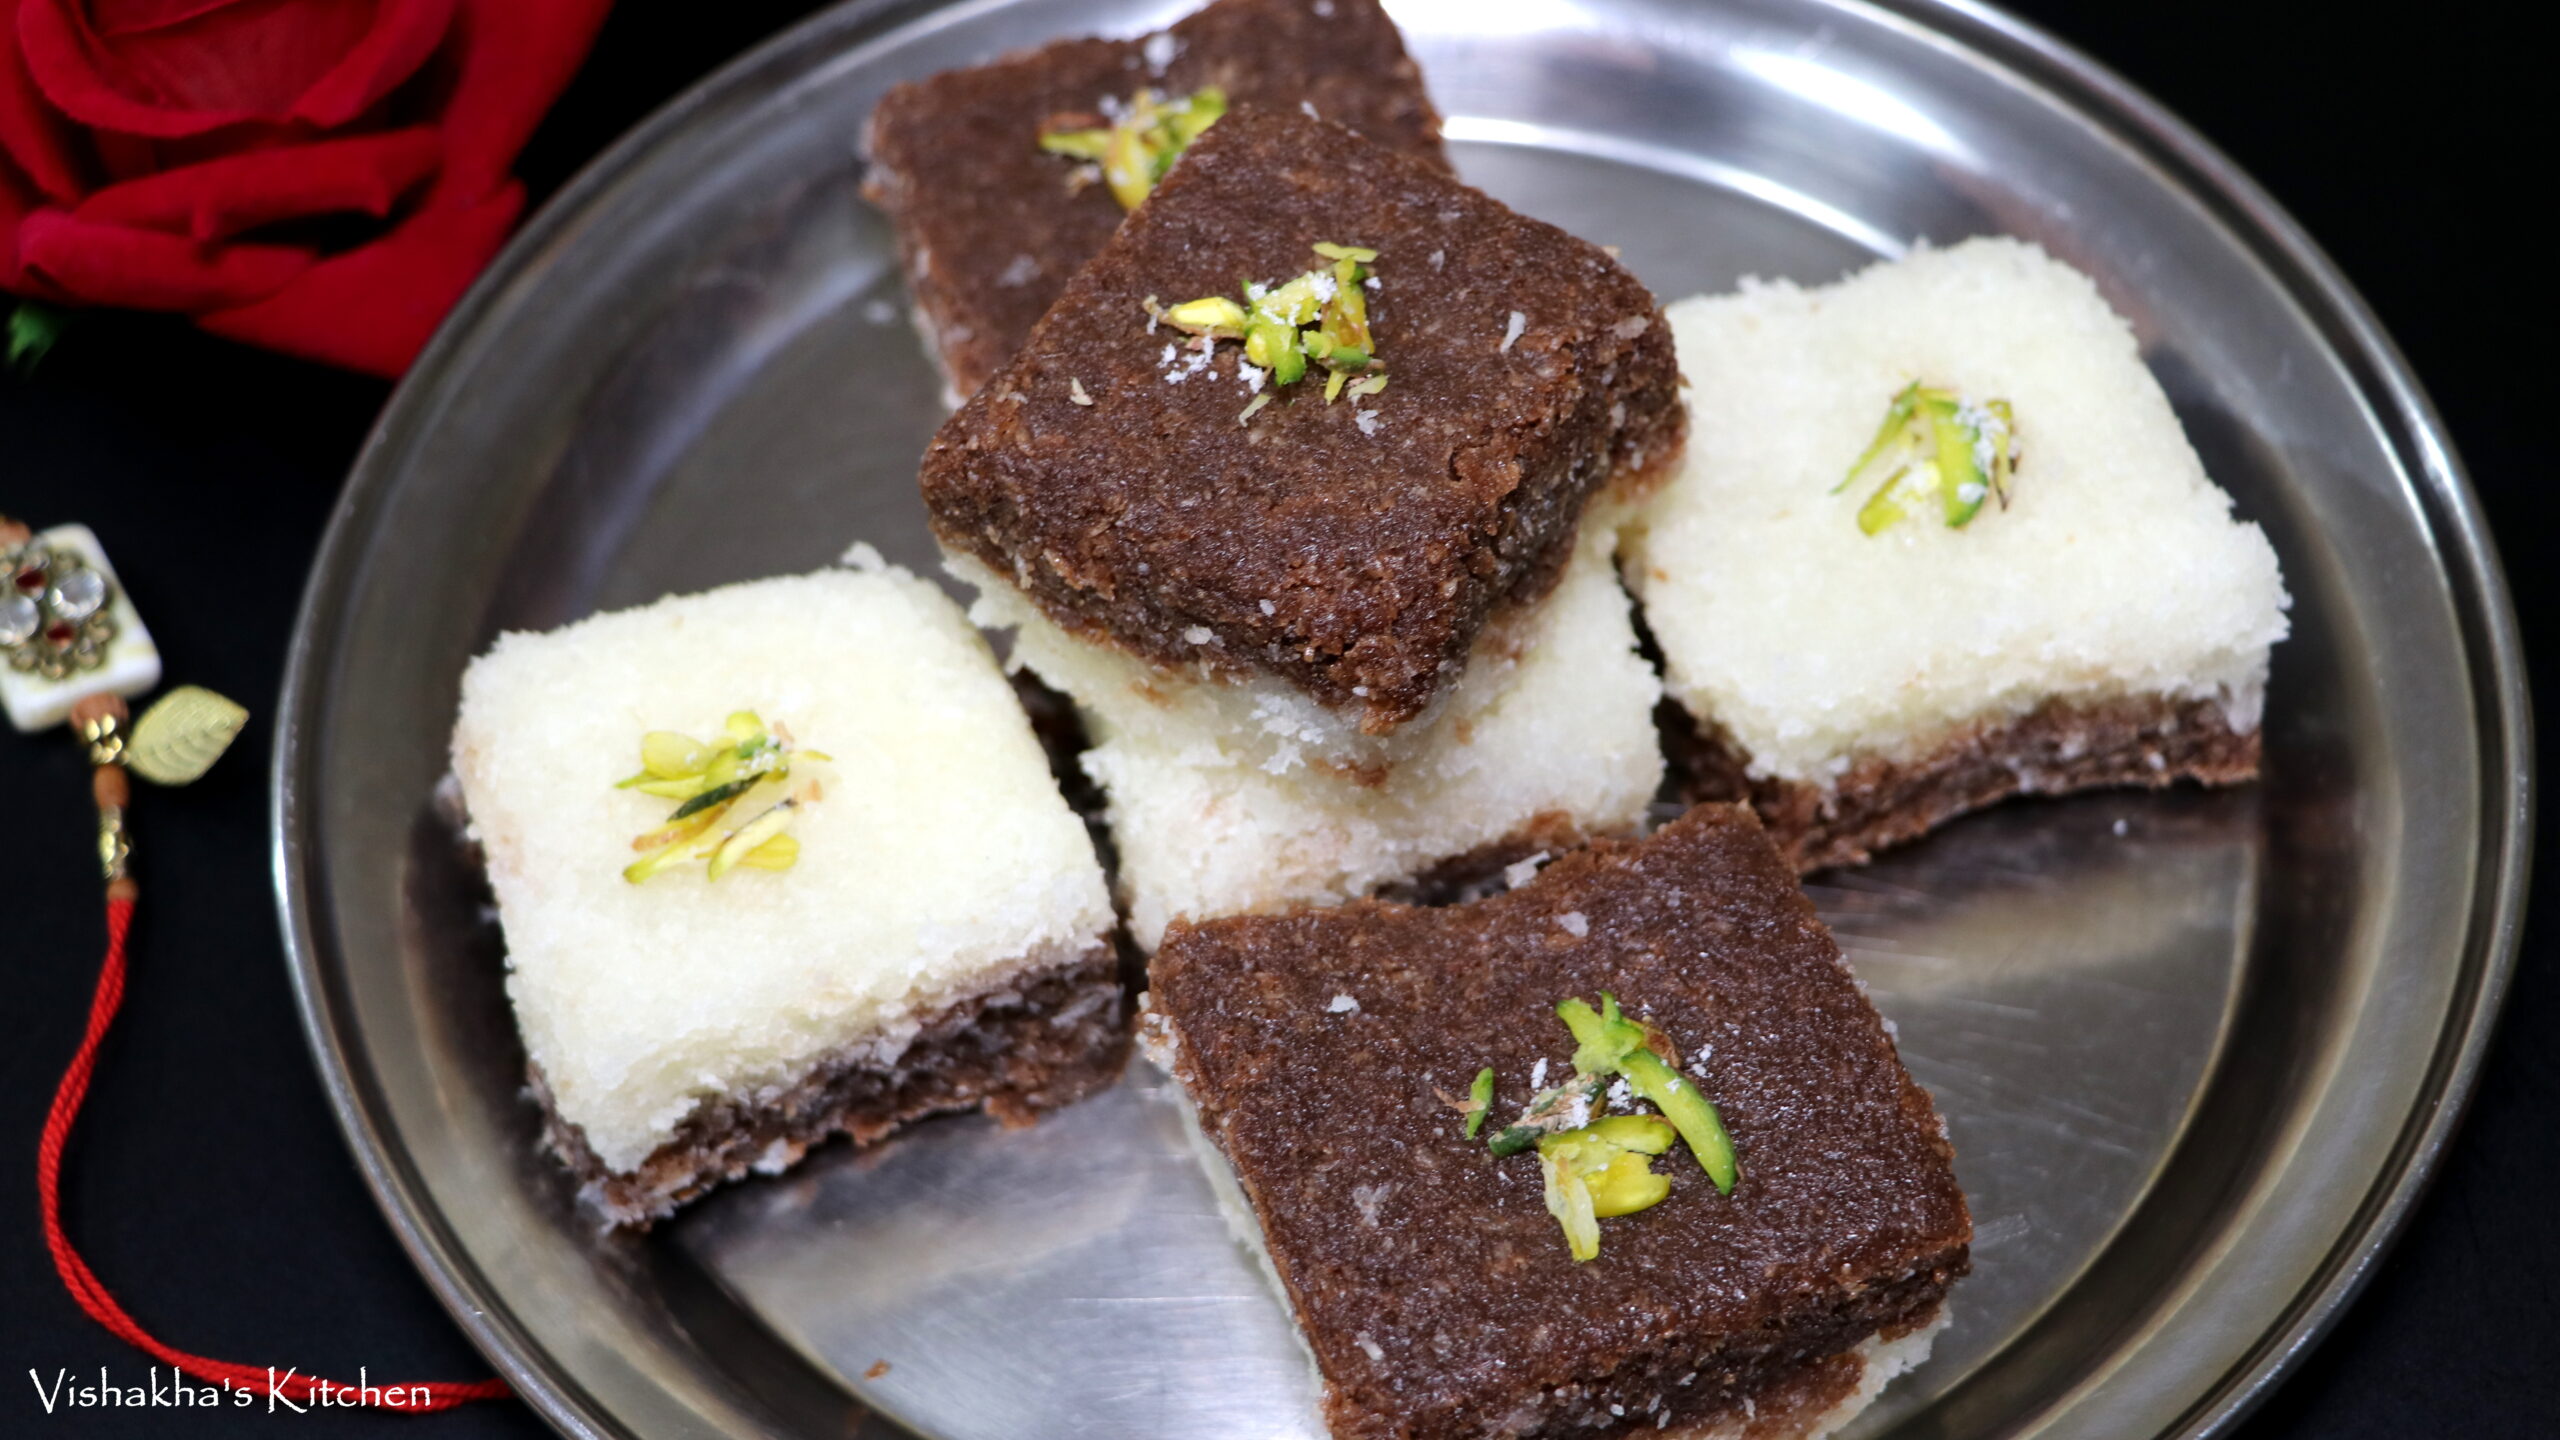
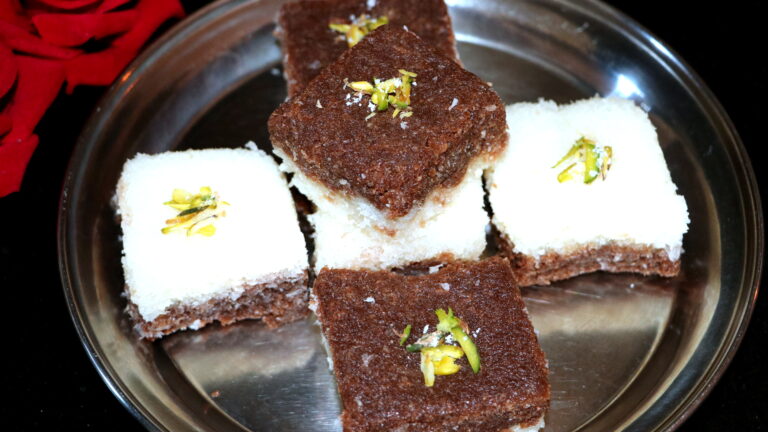
Looking for an easy homemade Indian sweet that doesn’t require khoya, mawa, condensed milk, or ghee? This Chocolate Coconut Burfi is the perfect festive dessert! Made with desiccated coconut, milk, sugar, fresh cream, and a delicious chocolate layer, this burfi is incredibly soft, rich, and melts in your mouth.
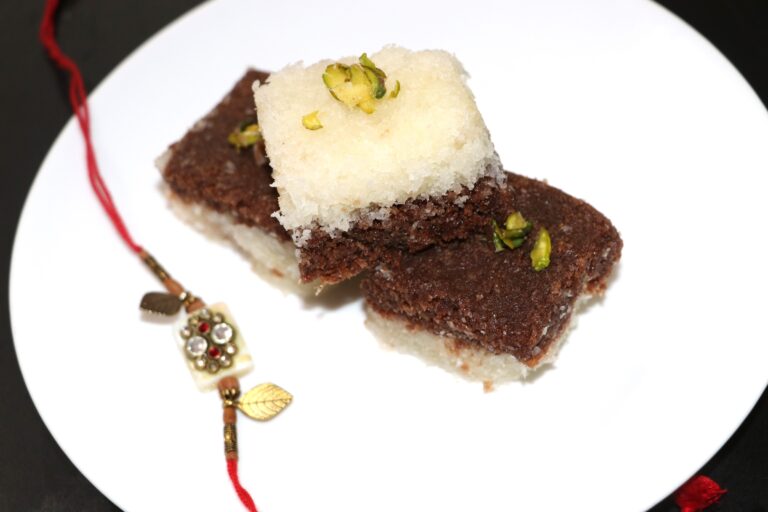
The best part about this recipe is its simplicity. With just a handful of pantry ingredients, you can prepare a beautiful two-layer coconut burfi that’s perfect for festivals like Diwali, Raksha Bandhan, Holi, Ganesh Chaturthi, Navratri, or whenever you’re craving a homemade sweet treat.
The classic coconut layer paired with a rich chocolate topping makes this burfi especially popular with kids and chocolate lovers alike. Every bite offers the perfect balance of creamy coconut and smooth chocolate, making it an irresistible dessert for the whole family.
Why You'll Love This Recipe
- No khoya or mawa required.
- No condensed milk needed.
- Made with simple pantry ingredients.
- Soft, creamy, and melts in your mouth.
- Beautiful two-layer presentation.
- Perfect for festivals, celebrations, and gifting.
- Beginner-friendly recipe.
Do visit my other recipes also so Must try this recipes!! from my blog with this post also, It includes
Surati Ghari Recipe | How to Make Traditional Gujarati Sweet at Home
Rajasthani Lapsi made with jaggey
Rajbhog | How to make Rajbhog sweet recipe
Besan Churma Laddu | Halwai Style Besan Ke Laddu Recipe
Mango Rasmalai Cake Recipe | Easy Mango Malai Cake in a Pan
Exotic Dry Fruits Laddu | White chocolate coated laddu
Chocolate Milkshakes | Super Delicious 5 types Chocolate Milk Shakes
Gulab Jamun Recipe | Perfect Soft Milk Powder Gulab Jamun
Churma Laddu Recipe | Traditional Sweet for Ganesh Chaturthi
You may also enjoy these delicious Indian sweet recipes:
Video
Ingredients
For the Coconut Layer
- 3 cups (300 g) desiccated coconut
- 1½ cups milk
- 1 cup (200 g) sugar (adjust to taste)
- 3 tablespoons fresh cream
For the Chocolate Layer
- Half of the prepared coconut mixture
- 1 Dairy Milk chocolate bar (or any milk chocolate)
1 tablespoon cocoa powder
Method
Step 1: Roast the Coconut
- Heat a heavy-bottomed kadai or non-stick pan over medium heat.
- Add the desiccated coconut – 3 cups and dry roast it gently for 4–5 minutes, stirring continuously.
- Do not let the coconut change color. The goal is simply to remove any raw taste while keeping it white and fresh.
- Tip: If fresh coconut is available, you can use freshly grated coconut instead. Keep in mind that the shelf life will be slightly shorter.
Step 2: Prepare the Coconut Mixture
- Add the sugar and 1 cup of milk to the roasted coconut.
- Mix continuously as the sugar begins to dissolve.
- Now pour in the remaining ½ cup of milk. This helps soften the coconut and creates a smooth, creamy texture.
- Cook over medium heat while stirring continuously for about 15 minutes.
- Once the mixture thickens slightly, add the fresh cream.
- Continue cooking for another 7–8 minutes, stirring regularly, until the mixture becomes soft, moist, and starts holding together.
- The mixture should not become completely dry. It should remain slightly soft because it will firm up as it cools.
Step 3: Set the First Layer
- Grease a square tray, plate, or container with a little ghee or butter.
- Transfer half of the prepared coconut mixture into the tray.
- Spread it evenly and gently press the surface with the back of a spoon or spatula to create a smooth, even layer.
Step 4: Prepare the Chocolate Layer
- Return the remaining coconut mixture to the pan over low-medium heat.
- Add the Dairy Milk chocolate and cocoa powder.
- Stir continuously until the chocolate melts completely and blends into the coconut mixture.
- Cook for another 5–6 minutes until the chocolate mixture becomes smooth and holds together nicely.
- If you prefer plain coconut burfi, simply skip the chocolate and cocoa powder.
Step 5: Assemble the Burfi
- Immediately spread the warm chocolate mixture evenly over the prepared white coconut layer.
- Smooth the top using a spatula to create neat layers.
- Refrigerate for 2–3 hours, or until completely set.
Step 6: Cut and Serve
- Once the burfi is fully set, remove it from the refrigerator.
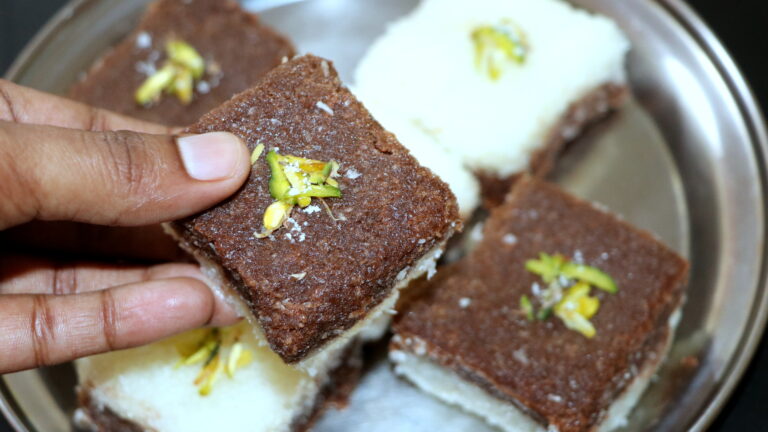
- Cut it into squares, diamonds, or any shape of your choice using a sharp knife.
- Your beautiful two-layer Chocolate Coconut Burfi is now ready to serve.
Serving Suggestions
Enjoy this delicious burfi: During Diwali celebrations, For Raksha Bandhan, As a festive sweet platter, After meals as dessert, During tea-time, As homemade edible gifts, At birthday parties and family gatherings…
This Chocolate Coconut Burfi is a simple yet elegant Indian sweet that’s guaranteed to impress. With its soft coconut base, creamy chocolate layer, and melt-in-the-mouth texture, it’s a dessert that both children and adults will love. Since it doesn’t require khoya, condensed milk, or complicated techniques, it’s perfect for beginners and festive occasions alike. Whether you’re preparing sweets for a celebration or simply satisfying your sweet cravings, this easy two-layer coconut burfi is sure to become a family favorite. Try it once, and you’ll find yourself making it again and again!
Storage Tips
- Store the burfi in an airtight container in the refrigerator for up to 7 days.
- Serve chilled or bring it to room temperature before serving.
- Avoid keeping it outside for long periods during hot weather.
Tips for Perfect Coconut Burfi
- Roast the coconut gently without browning it.
- Stir continuously while cooking to prevent sticking.
- Use full-fat milk for a richer taste.
- Fresh cream makes the burfi softer and creamier.
- Refrigerate until completely firm before cutting.
- For clean slices, wipe the knife after every cut
further, do check my other recipes collection..
Ragi & Oats Chocolate Cake | Eggless, Gluten-Free, No Maida, No Sugar, No Oven!
Peanut Chocolate Chikki in 10 Minutes | Healthy Snacks
Sugar Free Dates Cake | No Oven – Soft, Moist & Naturally Sweet Dates Cake
Milk Powder Burfi | Quick & Delicious Indian Sweet (Ready in 15 Minutes!)
Frequently Asked Questions
Can I use fresh coconut?
Yes. Freshly grated coconut works beautifully, but the burfi should be consumed within 2–3 days and stored in the refrigerator.
Can I make this recipe without fresh cream?
Yes. However, the cream makes the burfi softer, richer, and creamier.
Can I reduce the sugar?
Absolutely! Adjust the sugar according to your taste preference.
Why isn’t my burfi setting?
The mixture may have been undercooked. Continue cooking until it thickens and starts leaving the sides of the pan before setting.

Vishakha's Kitchen
Join me on a delightful journey through the world of flavors and traditions! At Vishakha's Kitchen