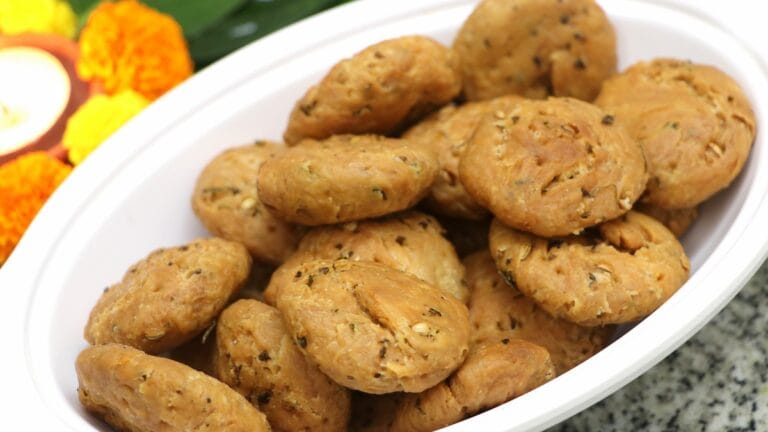
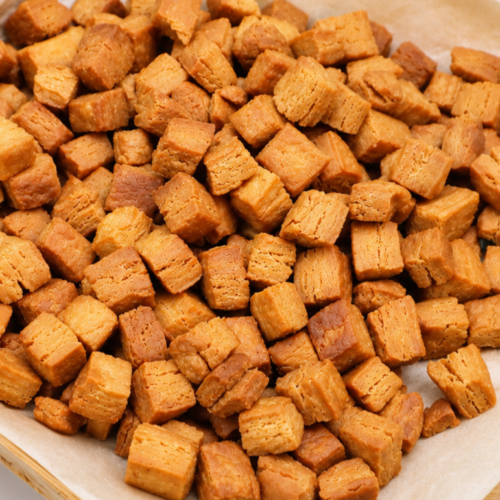
shakkarpare

Crispy Shakkarpare Recipe | खस्ता शक्करपारे | Diwali Snacks

Want to read this recipe in another language?English | Hindi | Marathi | Telugu

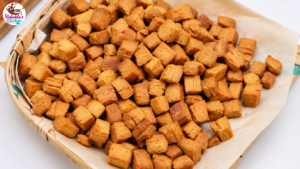
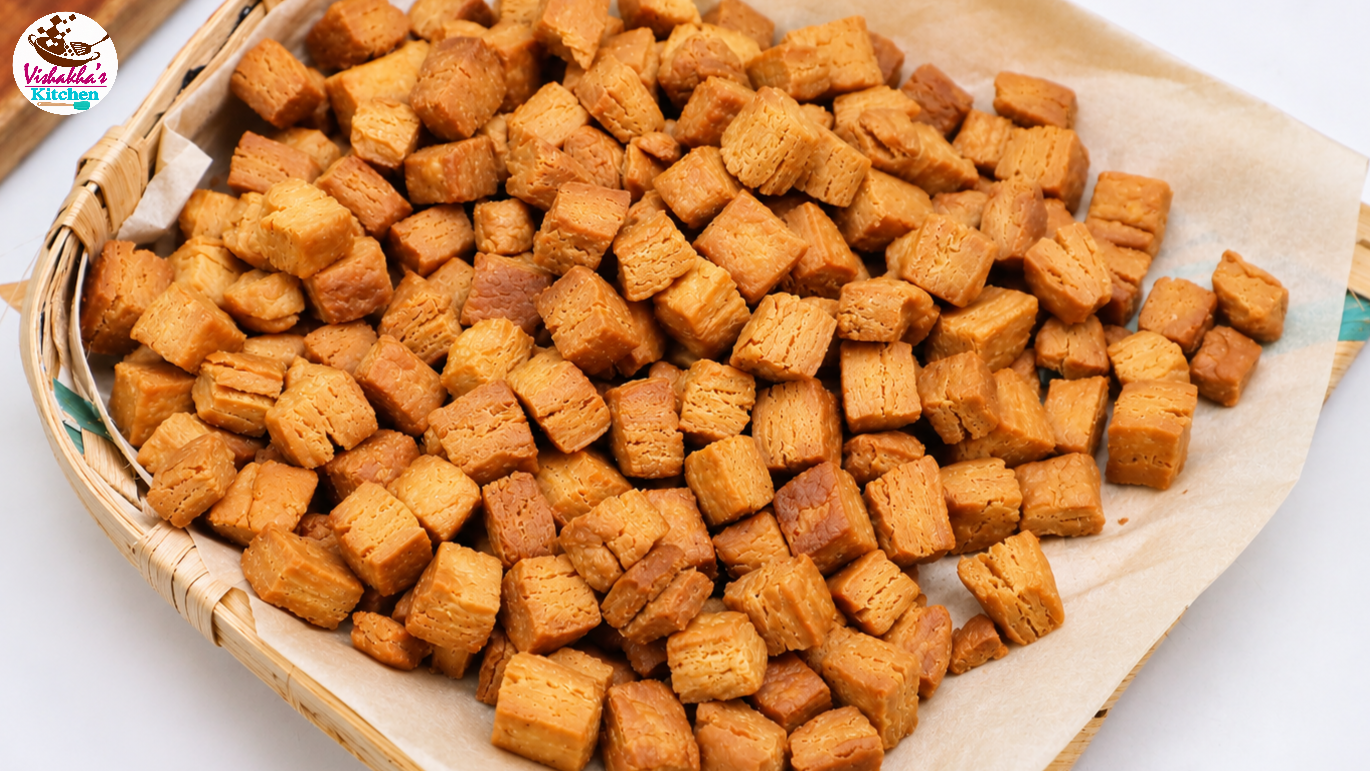
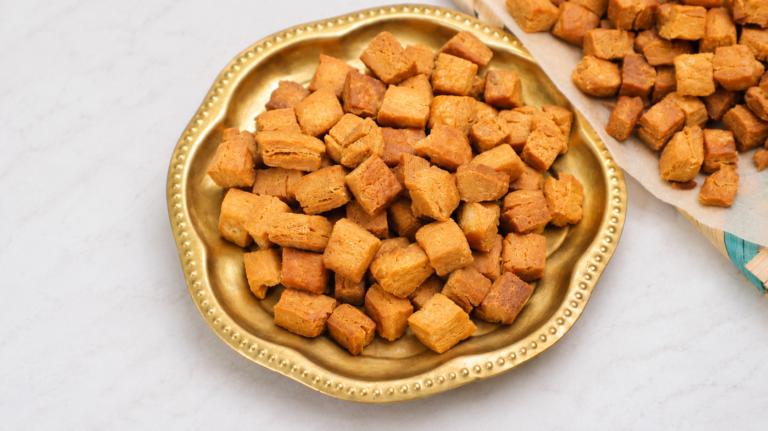
Shakkarpare is one of the most loved traditional Indian sweet snacks, especially during festive occasions like Diwali. These little golden bites are crispy, crunchy, mildly sweet, and absolutely delicious. They are made with simple pantry ingredients like all purpose flour, ghee, milk, and sugar.

Today, I’m sharing my tried and tested Crispy Shakkarpare Recipe that gives you beautifully flaky, layered, and perfectly crunchy Shakkarpare every single time.

The secret to making perfect Shakkarpare lies in using the right proportion of ingredients and following a few simple techniques. Unlike regular dough, this mixture should not be kneaded like roti dough. Instead, we gently bring everything together to create a crumbly dough. The ghee in the mixture helps create those beautiful flaky layers that make these Shakkarpare extra crispy.

Another important step is frying them patiently over low to medium heat. This allows the Shakkarpare to cook evenly from inside while developing a beautiful golden colour on the outside.

If you have ever struggled with Shakkarpare turning hard, overly oily, or undercooked from the inside, this recipe will help you get much better results.

Follow my exact ingredient proportions and simple tips to make perfectly crispy, flaky, and delicious homemade Shakkarpare.

Why You Will Love This Recipe

  • Extra Crispy and Flaky: These Shakkarpare have beautiful layers that make every bite crunchy and delicious.
  • Perfect Ingredient Proportions: The balanced ratio of flour, ghee, milk, and sugar gives them a lovely texture and sweetness.
  • Not Too Sweet: The sweetness is perfectly balanced, making them enjoyable with a cup of tea.
  • Less Oily: When fried at the right temperature, these Shakkarpare do not absorb excessive oil.
  • Easy to Make: You don’t need any special equipment or complicated techniques.
  • Perfect for Festivals: They are an excellent homemade snack for Diwali, celebrations, and festive gifting.
  • Longer Shelf Life: Once completely cooled, they can be stored in an airtight container and enjoyed for several days.

Video

Ingredients

  • All purpose flour – 4 cup
  • Powder sugar – 3/4 cup
  • Ghee – ½ cup
  • Milk – ½ cup
  • Cardamom powder – ½ tsp
  • Oil – to fry

Method

Step 1: Prepare the Milk, Ghee and Sugar Mixture

  1. First, take a pan and add ½ cup of milk and ½ cup of ghee.
  2. Heat gently until the ghee melts completely.
  3. Now add ¾ cup of powdered sugar along with ½ teaspoon of cardamom powder.
  4. Keep stirring gently until the sugar dissolves completely into the milk and ghee mixture.
  5. There is no need to boil the mixture. We just want the sugar to dissolve properly.
  6. Once the sugar has dissolved, switch off the heat and allow the mixture to cool slightly.

Step 2: Prepare the Dough

  1. Transfer the slightly cooled milk and ghee mixture into a large mixing bowl or a wide plate.
  2. Start by adding 3 cups of all purpose flour and mix everything using a spoon.
  3. Once the flour is incorporated, add the remaining 1 cup of flour.
  4. Now use your hands to gently bring the mixture together.
  5. One important thing to remember is that you should not knead this mixture like regular roti or poori dough.
  6. Simply bring everything together using your hands until it forms a crumbly dough that holds its shape when pressed.
  7. The ghee in the mixture plays an important role in creating the flaky layers. When the Shakkarpare are fried, these layers give them their signature crispy and crunchy texture.
  8. So, avoid over kneading or handling the dough too much.

Step 3: Rest the Dough

  1. Once the dough comes together, cover it with a clean kitchen cloth.
  2. Let it rest for 30 minutes.
  3. Resting helps the flour absorb the moisture evenly and makes the dough easier to shape and roll.

Step 4: Roll and Shape the Shakkarpare

  1. After 30 minutes, gently bring the dough together once again.
  2. Divide it into four equal portions.
  3. Take one portion and place it on a clean kitchen counter or rolling board.
  4. Using a rolling pin, roll it into a slightly thick sheet, just like a roti.
  5. Make sure you do not roll it too thin. Keeping the sheet slightly thick helps maintain the beautiful layered texture after frying.
  6. Now trim the uneven edges using a knife to give the sheet a neat square or rectangular shape.
  7. If you feel the sheet is too thick, roll it out slightly more.
  8. First, cut the sheet into long strips. Then cut across these strips in the opposite direction to make small square-shaped pieces.
  9. Your cute little square Shakkarpare are now ready to be fried!
  10. Repeat the same process with the remaining portions of dough.

Step 5: Fry the Shakkarpare

  1. Heat oil in a deep frying pan or kadai.
  2. Once the oil is sufficiently hot, reduce the flame to low or medium-low.
  3. Carefully add the prepared Shakkarpare to the hot oil. Avoid overcrowding the pan, as they need enough space to fry evenly.
  4. The most important part of this recipe is maintaining the right frying temperature.
  5. Always fry Shakkarpare over low to medium-low heat. If you fry them on high heat, they will turn golden quickly from the outside, but the inside may remain undercooked.
  6. Frying them slowly allows the heat to reach the centre, giving them a perfectly crispy texture throughout.
  7. Keep turning them gently from time to time using a slotted spoon so that they cook evenly on all sides.
  8. As they fry, you will notice their colour gradually changing to a beautiful golden brown.
  9. Once they are evenly cooked and develop a lovely golden colour, remove them from the oil.
  10. Make sure not to over-fry them, as this can make them too dark.
  11. Fry the remaining Shakkarpare in the same way.

Step 6: Cool and Store

  1. Transfer the fried Shakkarpare to a plate or tray lined with kitchen paper.
  2. Allow them to cool completely to room temperature.
  3. Once completely cooled, transfer them to an airtight container.
  4. Your homemade crispy, flaky, and delicious Shakkarpare are ready to enjoy!
  5. Serve them with a cup of tea or enjoy them as a festive sweet snack.
crispy shakkarpare

Tips

  1. Follow the exact ingredient proportions: The correct ratio of flour, ghee, milk, and sugar is important for achieving the right texture and sweetness.
  2. Do not boil the milk mixture: Heat only until the ghee melts and the powdered sugar dissolves. Allow it to cool slightly before adding the flour.
  3. Do not knead the dough: Unlike regular roti dough, this mixture should only be brought together gently. Over-kneading can affect the flaky texture.
  4. Do not skip the resting time: Resting the dough for 30 minutes makes it easier to handle and roll.
  5. Keep the rolled sheet slightly thick: Rolling it too thin can make the Shakkarpare harder and less flaky.
  6. Maintain the correct oil temperature: Always fry over low to medium-low heat. High heat can brown the outside before the inside cooks properly.
  7. Fry in small batches: Avoid adding too many pieces at once, as this can lower the oil temperature and affect even frying.
  8. Do not over fry: Remove the Shakkarpare once they turn a beautiful golden colour.
  9. Cool completely before storing: Warm Shakkarpare can release moisture inside the container, affecting their crispiness.
  10. Use an airtight container: Store them in a clean, completely dry container to maintain their crunchy texture.
shakkarpare

Recipe Card

shakkarpare

Crispy Shakkarpare Recipe | खस्ता शक्करपारे | Diwali Snacks Recipe

These homemade Shakkarpare are incredibly crispy, flaky, and beautifullylayered. Made with all purpose flour, ghee, milk, and sugar, this traditionalIndian sweet snack is perfect for Diwali and festive celebrations.
Prep Time 15 minutes
Cook Time 30 minutes
Resting Time 24 minutes
Course Dessert, Diwali Recipes, Snack
Cuisine Indian

Ingredients
  

  • 4 cups all-purpose flour maida
  • ¾ cup powdered sugar
  • ½ cup ghee
  • ½ cup milk
  • ½ teaspoon cardamom powder
  • Oil for deep frying

Instructions
 

  • In a pan, add milk and ghee. Heat gently until the ghee melts completely.
  • Add powdered sugar and cardamom powder. Stir until the sugar dissolves completely. Do not boil the mixture. Switch off the heat and let it cool slightly.
  • Transfer the mixture to a large mixing bowl. Add 3 cups of all-purpose flour and mix using a spoon.
  • Add the remaining 1 cup of flour and gently bring the mixture together using your hands. Do not knead the dough like regular roti dough. Simply bring it together until it holds its shape.
  • Cover the dough with a clean kitchen cloth and let it rest for 30 minutes.
  • After resting, gently bring the dough together and divide it into four equal portions.
  • Take one portion and roll it into a slightly thick sheet using a rolling pin. Trim the uneven edges to make a square or rectangular shape.
  • Cut the rolled sheet into long strips, then cut across the strips to make small square-shaped Shakkarpare.
  • Repeat the same process with the remaining dough.
  • Heat oil in a deep frying pan. Once sufficiently hot, reduce the flame to low or medium-low.
  • Carefully add the Shakkarpare to the hot oil and fry slowly, turning occasionally, until they are evenly cooked and turn a beautiful golden colour.
  • Remove the Shakkarpare from the oil and allow them to cool completely to room temperature.
  • Store in an airtight container and enjoy your crispy, flaky homemade Shakkarpare!
    shakkarpare

Video

Notes

  • Follow the exact ingredient proportions for the best results.
  • Do not over knead the dough, as this can affect the flaky texture.
  • Keep the rolled dough slightly thick for beautifully layered Shakkarpare.
  • Always fry on low to medium-low heat to ensure they cook evenly from inside.
  • Avoid overcrowding the pan while frying.
  • Do not over fry the Shakkarpare.
  • Allow them to cool completely before storing.
  • Store in an airtight container to maintain their crispiness.
Keyword Crispy Shakkarpare, Diwali Special Recipe, Homemade Shakarpara., Indian Sweet Snacks, Khasta Shakkarpare, Layered Shakkarpare, Shakkarpare Recipe

FAQs

Why are my Shakkarpare turning hard?

Shakkarpare can turn hard if the dough is ove  kneaded or rolled too thin. Make sure to bring the dough together gently without kneading it like regular roti dough. Also, maintain the correct ingredient proportions.

Why are my Shakkarpare crispy outside but soft inside?

This usually happens when the oil is too hot. The outside cooks and browns quickly, while the inside does not get enough time to cook. Always fry Shakkarpare over low to medium-low heat for evenly cooked and crispy results.

Why do Shakkarpare absorb too much oil?

Shakkarpare may absorb excessive oil if the oil temperature is too low or if the dough has too much moisture. Make sure the oil is sufficiently hot before adding the Shakkarpare, then maintain a steady low to medium-low frying temperature.

Why do we add ghee to Shakkarpare?

Ghee adds richness, flavour, and helps create a flaky texture. It plays an important role in giving Shakkarpare their signature crispy layers.

Can I use regular granulated sugar instead of powdered sugar?

Powdered sugar is recommended because it dissolves more easily in the warm milk and ghee mixture. If using regular sugar, make sure it dissolves completely before adding the flour.

Can I make Shakkarpare without milk?

This particular recipe uses milk for its flavour and texture. Replacing it with water will change the final result, so I recommend following the original recipe proportions for the best outcome.

How long can I store homemade Shakkarpare?

When completely cooled and stored in an airtight container in a cool, dry place, Shakkarpare can stay crispy for around 2–3 weeks. Always use a clean, dry spoon when serving.

How do I know when Shakkarpare are perfectly fried?

They should develop an even golden brown colour and feel firm when lifted from the oil. Remember that they become even crispier as they cool.

Can I prepare Shakkarpare in advance for Diwali?

Absolutely! Shakkarpare are perfect for preparing in advance. You can make them a few days before Diwali, allow them to cool completely, and store them in an airtight container.

What is the secret to making layered Shakkarpare?

The secret is the right proportion of ghee, gently bringing the dough together without over-kneading, and rolling the dough to the correct thickness. Frying them slowly at the right temperature also helps achieve that beautiful flaky texture.

Leave a Comment

Comments

No comments yet. Why don’t you start the discussion?

    Leave a Reply

    Your email address will not be published. Required fields are marked *

    Recipe Rating